How do i get rid of rust on my wood stove?

START WITH A WIRE BRUSH AND STEEL WOOL
The first step is to move the stove to a work space or thoroughly protect the area around the stove with drop cloths. Things may get a wee bit dirty!

If possible, remove the door from the stove and the glass from the door frame. Plan to replace both the door gasket and the glass gasket.

Any peeling, blistering or chalking of rusty old paint must be removed. Do this by aggressively scrubbing the top and sides of the stove with a stiff bristled wire brush. Coarse steel wool or even sand paper may work well, too. Using a shop vac, clean up all the dust and flakes of rust. If you’re doing this project outside and you have access to an air compressor, blow off all the dust.

This is also the time to remove any old gasketing by thoroughly scraping the door and glass channels. Inspect and if necessary, remove and replace any loose refractory cement from the interior of the stove. Any crumbling or broken firebrick should be replaced.


RUST REMOVER
The next order of business is to remove all signs of rust. Using a rust remover from your WE LOVE FIRE® dealer or the hardware stove, spread it generously on the stove’s top and sides, and on the door. Most rust removers need a heavy application and need to soak for several minutes before scrubbing with steel wool. Follow the directions on the bottle.

Depending on the severity of the rust, some people formulate their own rust remover by mixing a smooth paste of baking soda and water. Naval jelly can be another option. Leave either mixture on the stove, liberally applied, for an hour before scrubbing with steel wool.

The key to this step is to be patient. Surface preparation is very important! Don’t rush it! Try to completely clean any signs of rust from the surface by wiping with dry cloths until no rust residue is seen. You may have to repeat this process.

In addition to all the rust, make sure that any other contaminants, like oil and grease, have been removed from the stove. Do not use mineral spirits or a paint thinner on the appliance. These leave a residue that will affect the adhesion of the paint.

Once you’re satisfied with the condition of the stove, let it thoroughly dry for several hours or better yet, overnight.


LET’S PAINT!
There are three key elements when you get to this point in the project:

1) Take your time, do not rush.

2) Three thinner coats of paint are much better than one heavier coat.

3) Make sure you use the correct type of paint. It needs to be a high temperature, stove paint.

The two primary manufacturers of high temp stove paint are Stove Bright and Thurmalox. Your WE LOVE FIRE® expert will have paint on the shelf. Buy one of these brands and simply follow the instructions on the can. Don’t try to cover everything with one coat; think three lighter, thinner coats instead of trying to cover everything with the first coat of paint.

If the stove is down to the bare, shiny metal and you want to use a primer coat, be sure it’s compatible with the high temperature aerosol stove paint. Both manufacturers make a high temp primer paint.

For most stoves, two cans of paint should be sufficient. If you’re repainting the top only, one will suffice. Incidentally, your black stove does not have to stay black any longer! There are over 30 colors of high temperature paint for wood-burning stoves!


DRYING AND CURING
High temperature stove paint dries quickly. Allow 15 – 30 minutes between thin coats. The paint will be dry enough to touch in about 2 hours. You’ll need to wait several hours, though before the “curing process” for your stove. This is probably a good time to replace the door gasket and the gasket material for the glass.

The paint will give off fumes and smoke during the first few initial burns. Again, follow the instructions on the can, but two or three small and quick fires will properly cure the new paint to the stove.

During these brief fires, there might be some visible smoke near the surface of the stove along with an unpleasant odor. This is normal. If you are indoors, keep the area well ventilated. Those with health issues or sensitivities should avoid the area until the curing process is completed. The fumes should not continue after three short burns.

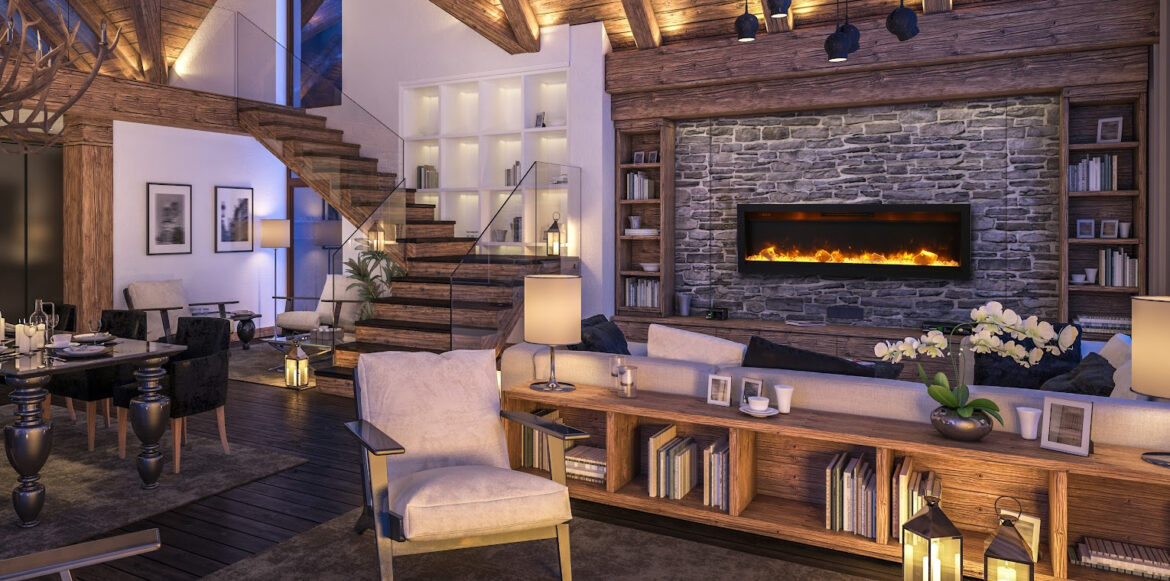
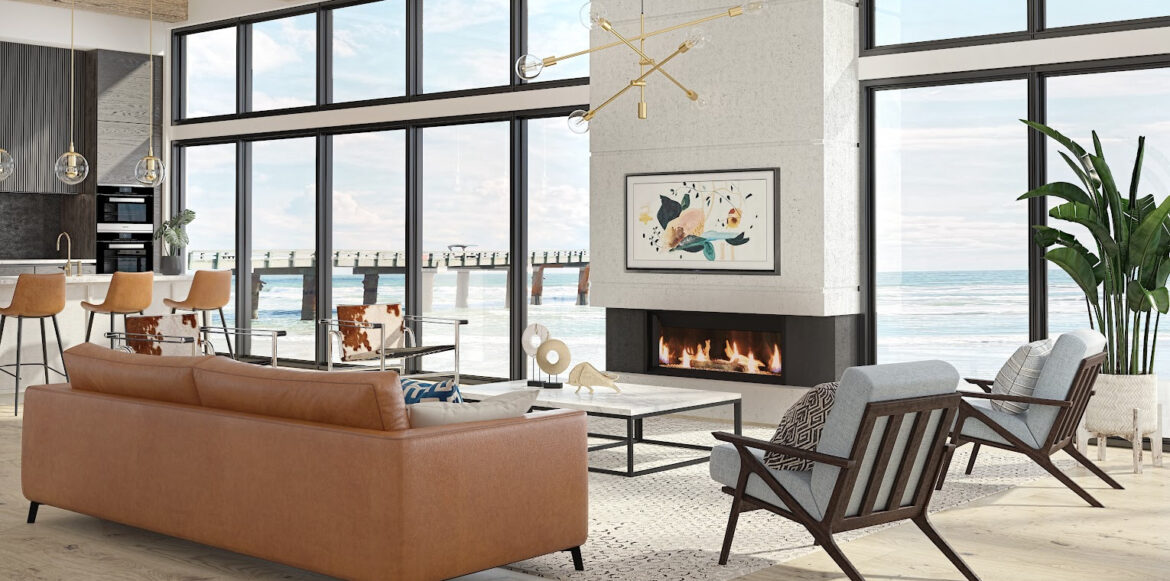
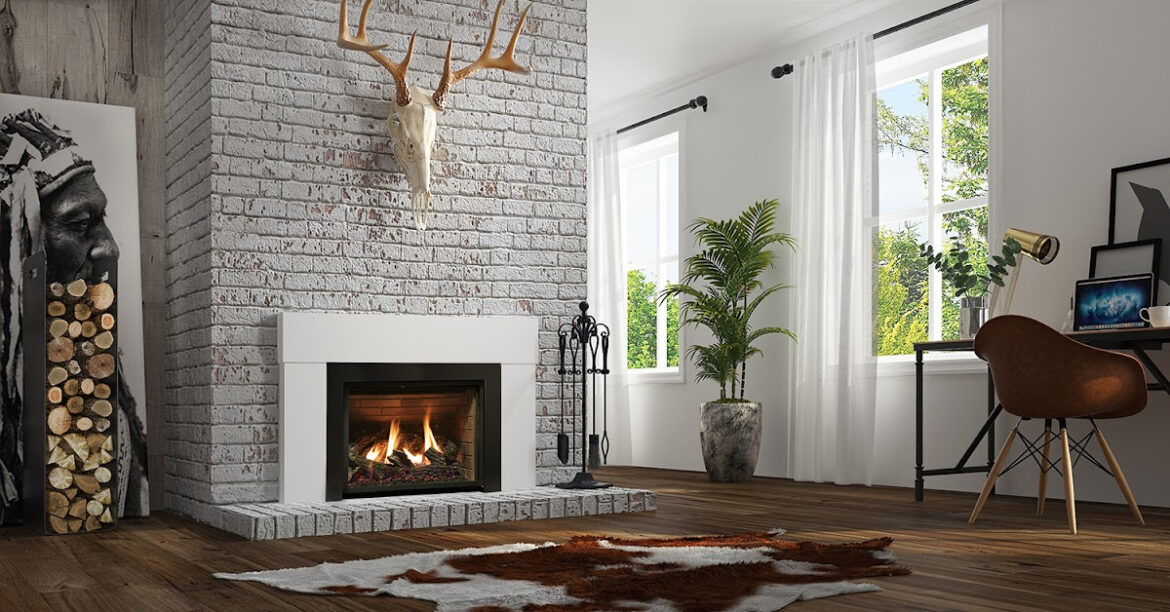
Interior of a rustic style large living room in the forest.

OTHER THOUGHTS
A couple other quick points worth mentioning. A spray trigger, attached to the nozzle of the paint can is a good idea. It’s inexpensive and easy to use. It will help to insure a smooth application of the paint. Also, think about painting the connector pipe (or the vent pipe on your gas model) the same color to match the new color of the stove! It’s a nice, finishing touch for the room.

Products like refractory cement, silicone sealant, rope and tape gasket, high temperature paint, paint sample cards, replacement firebrick, glass cleaner, etc. are available at your nearby WE LOVE FIRE® dealer. If they don’t have it in stock, they’ll be glad to order it!

Keep in mind that the extra time and effort in surface preparation and applying three thin coats of paint will lead to the best results for a beautiful and long-lasting finish for your stove.

Electric Fireplace : How They Work

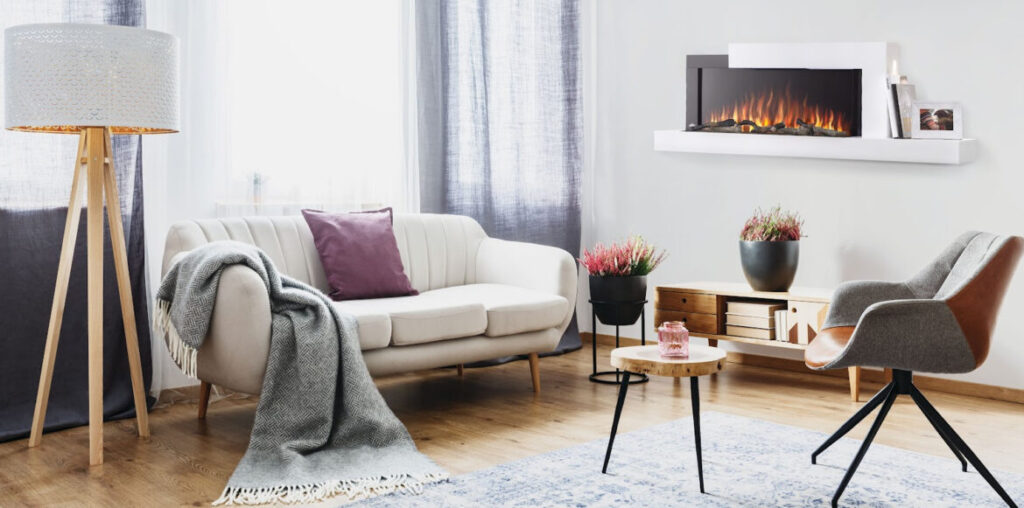
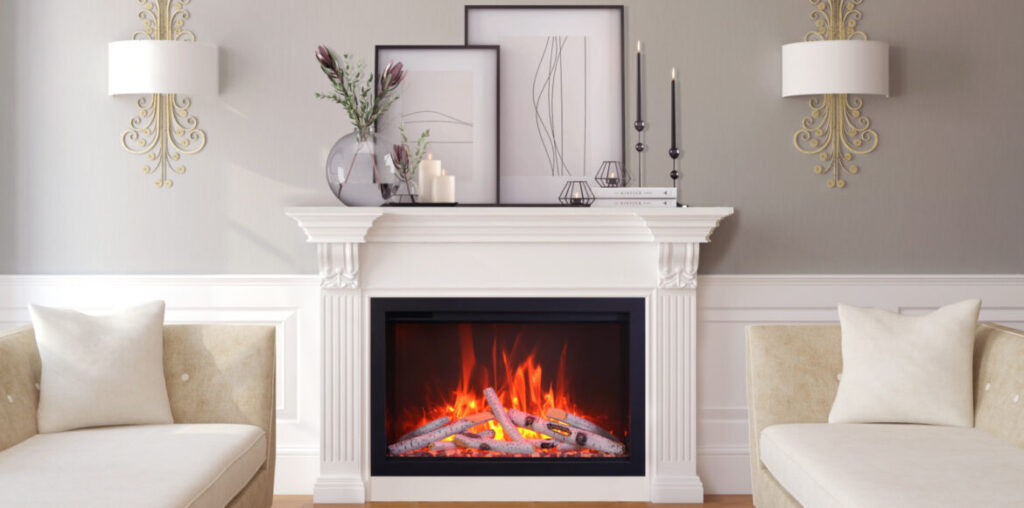
Electric fireplaces are more popular than ever. Their beauty, versatility, cleanliness, and performance are truly impressive.

In this article, we’ll discuss several frequent questions that often arise when the subject of electric fireplaces comes up.

How does an electric fireplace work?
Do electric fireplace really heat?
How to operate an electric fireplace?
How long can you leave any electric fireplace turned on?

HOW DOES AN ELECTRIC FIREPLACE WORK?
Electric fireplaces are extremely easy and convenient to use. There are two main adjustments to turn on and off with an electric fireplace. One is the lights and “flames” with the fireplace; the other is the heat. Both functions operate with a remote control. Most remotes have a manual and an automatic mode.

The lighting effects and flames can be operated with or without the heat on. A series of LED lights can be adjusted to the colors and brightness you prefer. Lighting effects are combined with many optional log styles, pebbles, clear and colored fire glass, rocks and glowing embers for the “media” inside your fireplace. It’s truly an impressive look that you’ll be proud to show family and friends.

The heat from an electric fireplace is much like the heat from an electric baseboard unit you might find in a bedroom or bathroom. Typically, the heating element on high will produce 1500 watts of power and half of that on low.

DO ELECTRIC FIREPLACES REALLY HEAT?
Yes, they do! But, if you’re hoping that an electric fireplace will heat the majority of your house, you’ll need to adjust your expectations. Think “supplemental heat”, particularly in the area within 10 – 15 feet of the fireplace.

The heating element on many electrics is 1500 watts. This translates to about 5100 BTU’s of heat. For comparison, a gas fireplace might have a burner capable of 20-40,000 BTU’s and wood fireplaces and stoves will range from 15-60,000 BTU’s per hour. A forced air furnace in an 1800-2000 square foot home is probably 80-100,000 BTU’s per hour.

So, yes an electric fireplace, stove or insert will heat, just don’t expect too much from it.

HOW TO OPERATE AN ELECTRIC FIREPLACE?
Most electric fireplaces can be operated manually by a touch panel or switches, located on the bottom of the unit, or with a convenient remote control. Settings include:

1) the fireplace on, the heater off.

2) Fireplace on, heater on high.

3) Fireplace on, heater on low.

Adjustments for the flame, mood lighting and color effects are typically done with the remote. Be sure to read and understand the owner’s manual, as details for adjustments will vary from model to model.

HOW LONG CAN YOU LEAVE ANY ELECTRIC FIREPLACE TURNED ON?
An electric fireplace can be left on for an indefinite period of time. However, with the heating element on 24/7, you will notice a difference in your electric bill.

That being said, many people leave their electric fireplace operating for extended periods of time, with the heat turned off. Much has been said about the spectacular effects of today’s electric fireplaces. The colors, media options and the inexpensive costs to enjoy the light show are reasons enough to keep your fireplace on all the time! Some folks use electric fireplaces as subdued lighting, left on overnight. Many design the media in an electric fireplace to complement their lifestyle! Some use the fire and ice effects as a subliminal cooling effect in the summertime! But one thing for sure, everyone will have their favorite settings and effects and will find a way to enjoy the fireplace!

Upgrading the Efficiency & Appearance of Your Fireplace

A masonry fireplace is a very popular built-in feature, but did you know you have options and could upgrade both efficiency and appearance? If you’ve come to realize that, unfortunately, your open-hearth fireplace loses about as much heat as it provides overall, the good news is that you can transform it into a highly efficient heat source that can help you cut energy costs. And if you’re going for a whole new look with your décor, you can have a stylish new mantel or surround installed. You can also install additional fireplaces in your home that can provide warmth and look stunningly unique, modern, and beautiful.

Fireplace Inserts

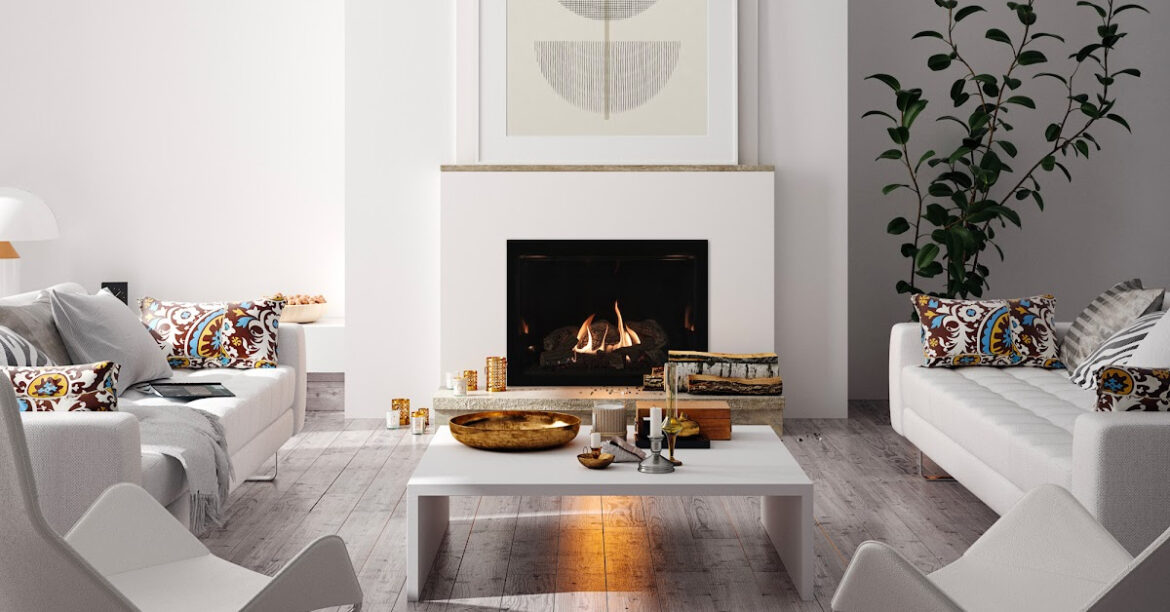
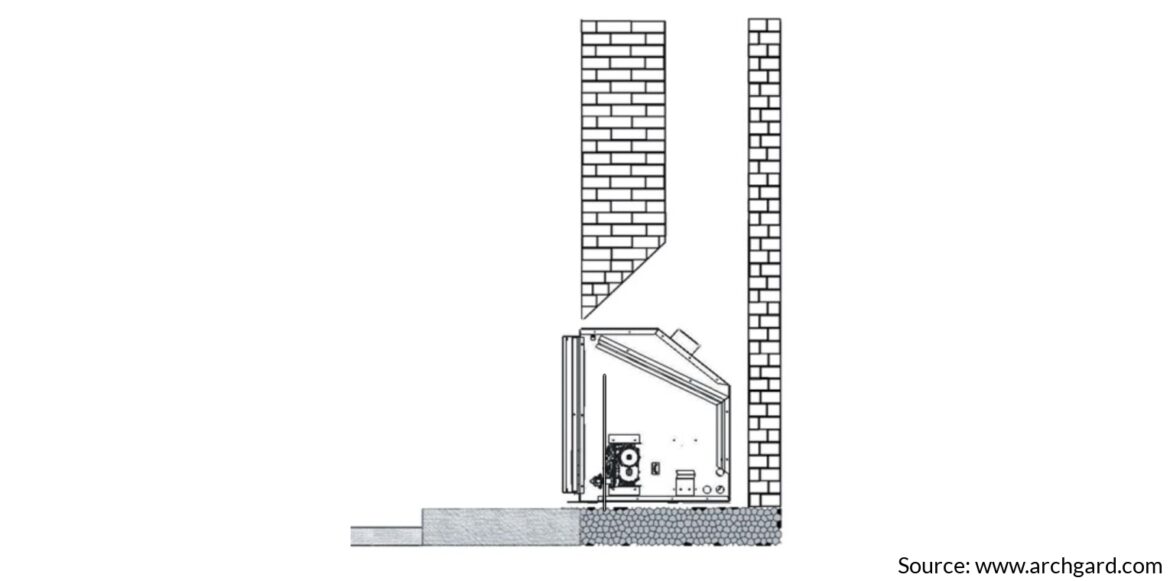
You can instantly transform your masonry fireplace into an efficient appliance by having a fireplace insert installed. Fireplace inserts are typically cast iron or steel, and they fit inside your existing masonry fireplace or zero clearance fireplace.

Fireplace inserts operate with a closed design system that conserves heat and creates an environment in which wood burns longer and at hotter temperatures. An open-hearth fireplace heats little more than the chimney. A fireplace insert, on the other hand, can provide enough heat for a large area of your home, between 1,000 and 3,000 square feet, depending on the size and model of the insert.

Economy

Once you begin using a fireplace insert, your firewood will provide you with three times the heat and yet you will use three times less wood. This means you will save on the cost of firewood as well as cut utility costs, since you’ll be able to turn off central heating and still stay warm. Some experts have estimated that your heating bill can be reduced by as much as 40%, when you use a fireplace insert to heat your home in winter. Some models come with fans that circulate air in the firebox and project it into your home.

Style

You can change the appearance of your fireplace as well as the efficiency of it, when you have an insert installed. There are many different designs to choose from, and they come in attractive styles to match virtually any décor, from rustic to contemporary.

Mantel and Surround

If you really want a completely new look for your fireplace, why not hire professionals to tear out the old and put in an entirely new mantel and surround? The possibilities are just about limitless.

Zero Clearance Fireplaces

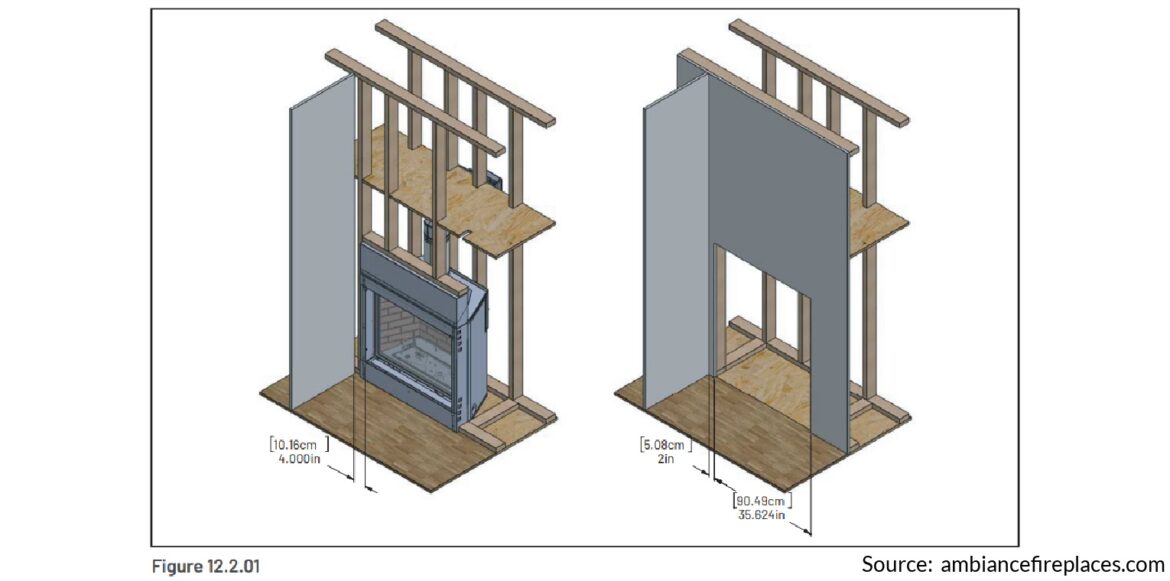
You don’t need to limit yourself to enjoying a fireplace where a chimney has been installed in your home. There are beautiful zero clearance fireplaces available that burn a variety of fuels, and no chimney is required for venting. ZC Fireplaces are efficient and beautiful. Some models look like absolute works of art. Gas fireplaces can be installed just about anywhere within walls and create a bold and awe-inspiring statement, in addition to providing a significant amount of heat.

These are good times to think outside the box, as regards the possibilities with fireplace efficiency and appearance. Contact one of our member stores and let professionals guide you through your many options.

Step by Step Guide to Building the Perfect Fire

The use of fire for warmth may date back to the Stone Age, but the principles of getting a wood fire started haven’t changed a bit. Untold millions have tried and failed to get a nice wood-fueled blaze going in their fireplace. The primitive task actually can be daunting, and getting just the kind of fire you want requires some know-how. If you understand the elements required for starting a fire, however, you’re well on your way. Details follow about bringing together the three components of fire-starting, which are: Fuel, air, and heat.

Fuel

The only types of fuel that should be used in your fireplace are tinder, kindling, and logs. Do not use yard debris or colored paper in your fireplace because it’s unsafe to do so. All wood that is used should be dry or seasoned. When unseasoned wood is burned, the moisture inside uses the majority of the fire’s energy; and an increased amount of flammable, tar-like creosote is deposited in the chimney flue lining from green firewood.

Tinder. 

Tinder materials are easily ignited. Out in nature, milkweed fluff, pine needles, and wood shavings are great sources of tinder. To ignite the fire in your fireplace, dryer lint can be used but actually may not be the best choice, since the lint can contain synthetic materials. Newspaper, pencil shavings, moss, and twigs also make for good tinder. Only use sticks and twigs for tinder and kindling if it snaps and breaks because if it bends, it contains too much moisture.

Kindling. 

The second phase of fire-building is when the kindling catches fire, creating more substantial flames. Sticks, small branches, and logs split into small sections serve well as kindling.

Logs. 

There are two different types of wood: Softwoods and hardwoods. The logs are the fire’s fuelwood. If you want a fire that burns hot and quickly and does not leave lingering hot coals, burn softwoods. For long-burning firewood that produces lasting warmth from hot coals, choose hardwoods. Softwoods are the best sources of kindling since they ignite quickly and produce a good blaze.

Air

Air is the second necessary component to get a fire roaring in your top-rated, stunning wood fireplace. Producing a sufficient draft can be hindered for numerous reasons. There may be too many ashes beneath the grate. Sometimes a fire doesn’t get needed air because the home has negative air pressure, caused by being too tightly sealed. Opening a window in the home can usually provide a temporary solution if negative air pressure is causing the lack of air. If the chimney isn’t properly maintained, the draft may be hindered due to various potential obstructions.

Heat

The heat component of fire is what the cavemen had the most trouble with. Today, we have the benefit of matches and lighters. It is extremely dangerous to use liquid accelerants in your fireplace; it should never be done. The most recommended is to light your tinder and kindling with a long match.

Contact one of our member stores for chimney and fireplace maintenance and to ensure that it’s safe to develop or hone your fire-starting skills in your fireplace.